As for sewing this blouse - I finished it in early December. And it has been waiting for the accompanying jacket to be completed, and then some opportunity to take nice pictures. Which are done, thanks again to my friend Alice. Although strangely we only took one or two with the jacket off. Oops. But the light was just right and this is a very good representation of the color of this silk.
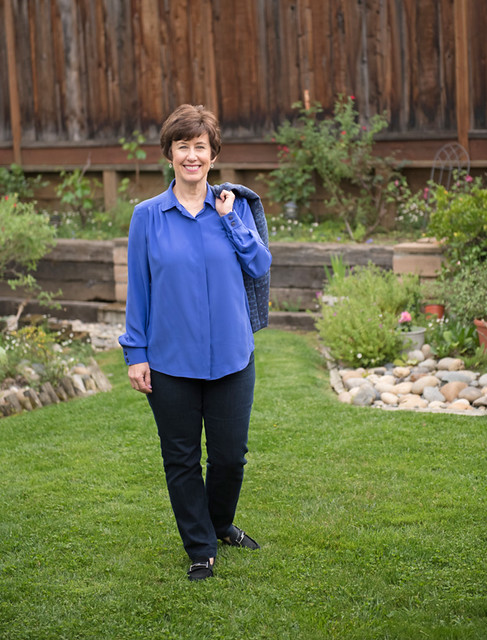
Which I bought at Mood Fabrics back in 2016 during my trip to NY. I bought this silk and another one, closer to a navy blue, and then the double sided wool fabric that I used to make the jacket tossed over my shoulder. Next post on that jacket.
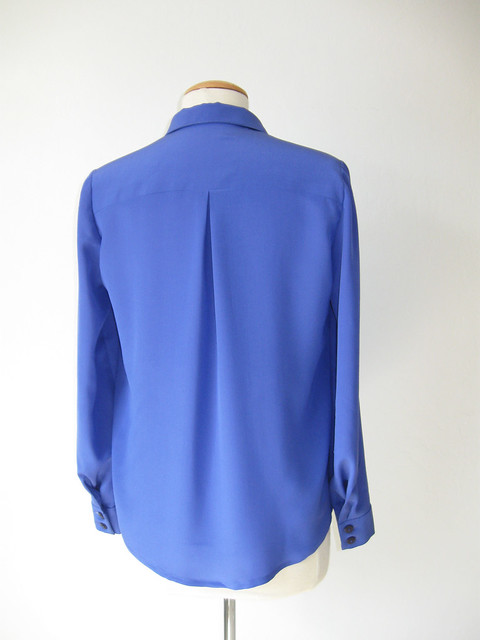
To confess, I'm not totally sure about my pattern choice here. I made this same pattern a while ago, in a plaid cotton. I think I like it better in the cotton. The reason I chose it for this fabric is the nice hidden buttonhole placket (which I could have done on any pattern but on this one it is included) and then the lack of shaping. Sometimes I find that silk crepe de chine gets kind of wrinkly if it is a shaped shirt, and a more loose silhouette works better with the fabric. But I think I overdid it on this. Not that I dislike it - but would make some other choices if I could do it again.
Here's the pattern envelope.
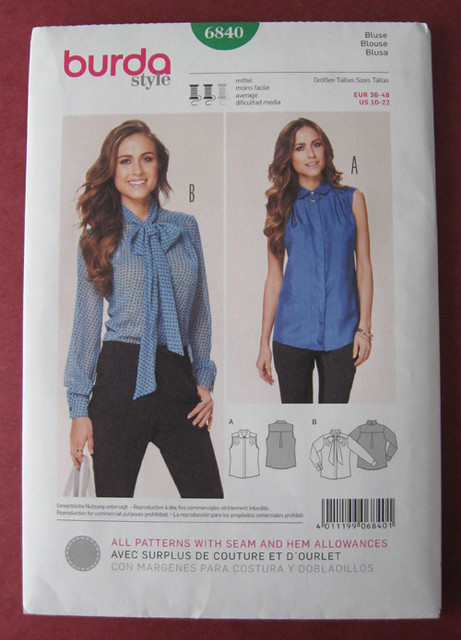
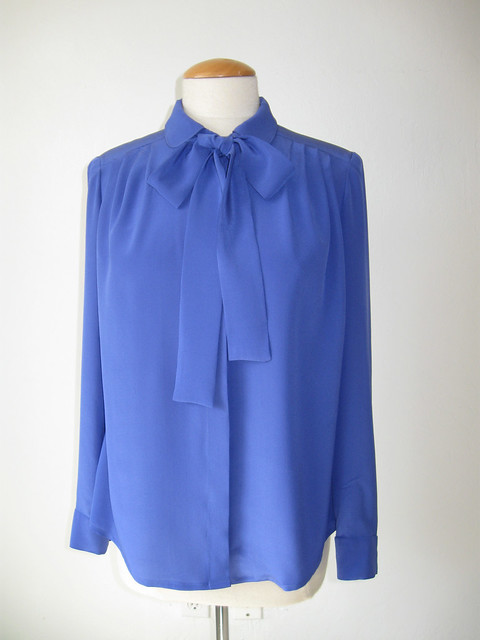
I like the bow look on the pattern but didn't want to be limited to that, so I made a detachable bow. And used just about every square inch of the fabric. Virtually no scraps left, which is nice for a change.
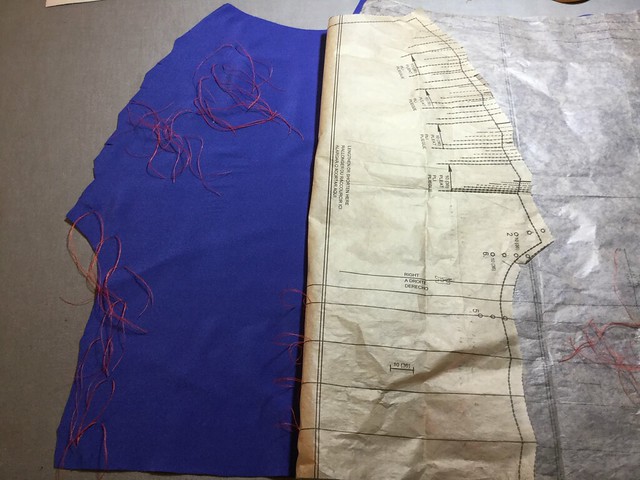
Sewing details - this blouse has no darts but instead pleats at the shoulder yoke. which means a lot of tailor's tacks.
The pattern has the built in hidden button feature all the way down the front, which is shown here. I did a post on the Craftsy sewing blog on how to create a hidden buttonhole placket, in a different way which also works for silk shirts like this. (By the way, all my Craftsy blog posts and tutorials are here on another page on this blog, listed by category.)
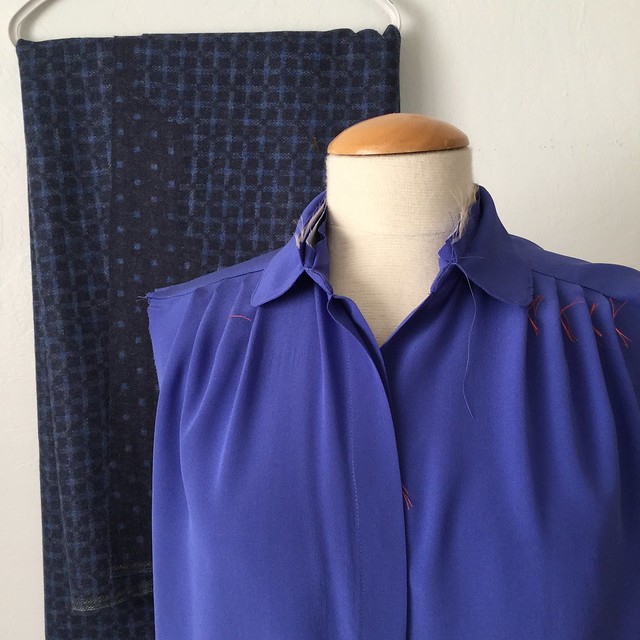
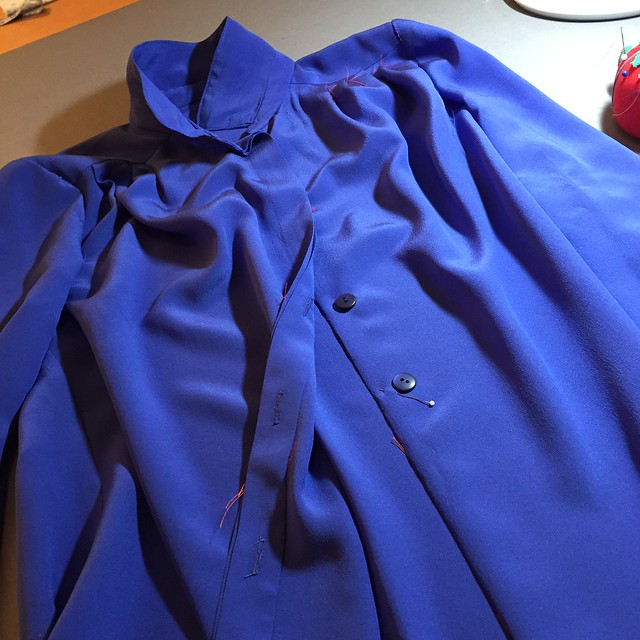
After I finished the blouse I stitched down along the shirt front edge of the buttonhole placket as I didn't like the way it gaped open at the top. Since I didn't put a button there near the top it wasn't needed in that section. I think that may be way I prefer the other method which is detailed in my Craftsy post linked to above. By the way that's the jacket fabric hanging behind the partially finished blouse.
A bit about interfacing - sewing with silk like this requires a bit of thought and testing when it comes to choosing the interfacing. I always make some samples with various weights of interfacings. In this case I used the Fashion Sewing Supply Sheer Elegance Light in the buttonhole placket and also in the collar and cuffs. However if you look closely at the unfinished collar there is another fabric in there.
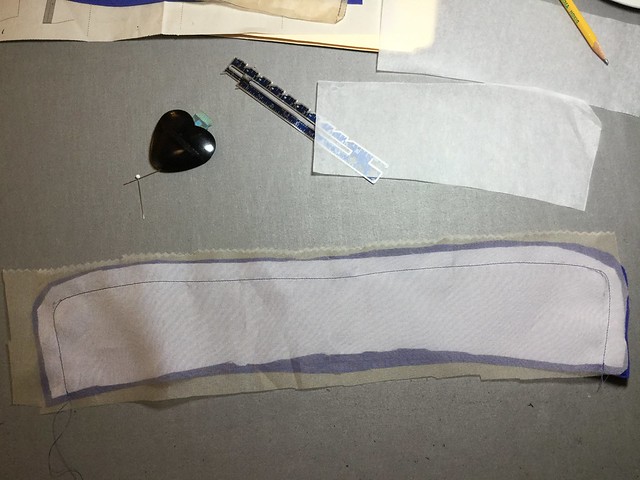
The collar seemed a bit floppy so I added a layer of silk organza interfacing. Not sure why I took this picture. Maybe to show that I had sewn the collar and then decided to add, so I roughly cut out a piece of silk organza, stitched it onto the collar and then trimmed it later.
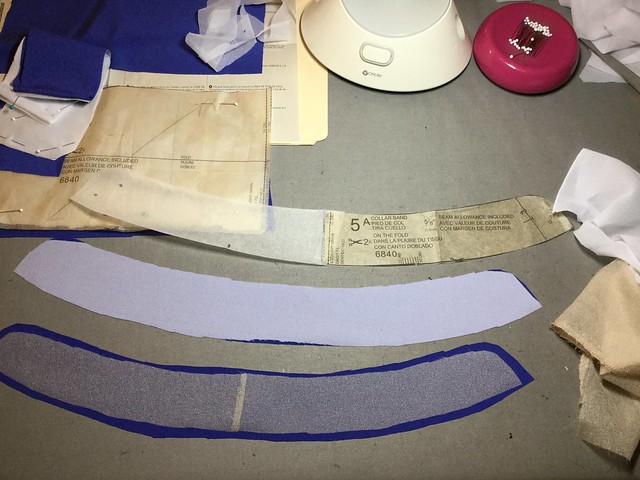
For the collar stand I think I just went with the two different types of fusible interfacing. The collar stand at the bottom of the picture has a very lightweight Japanese interfacing that I buy at Stone Mountain, here's the link to the page on their website. They show 4 colors (black, white, and 2 shades of beige). This interfacing is the best I have found for certain applications on silk or other lightweight fabrics. The beige tones seem to magically disappear on sheer fabrics or at least don't show so while expensive they are worthwhile and of course you just use a small amount on each project so 1 yard will last you a good while.
Also shown in the above photo is the pattern piece for the collar stand. Often when pattern companies give you that small piece which is to be cut on the fold I make a 2nd copy in paper and either join to the original so I can cut out as a single piece on two layers of fabric, or alternatively have two of the same to cut on fold without having to move and place the pattern piece again. With all the dots and markings of course :)
Thinking about RTW silk blouses I have had, they often have the edge stitching which keeps them crisp so I actually hunted around in my desk drawer to find the edge stitching foot.
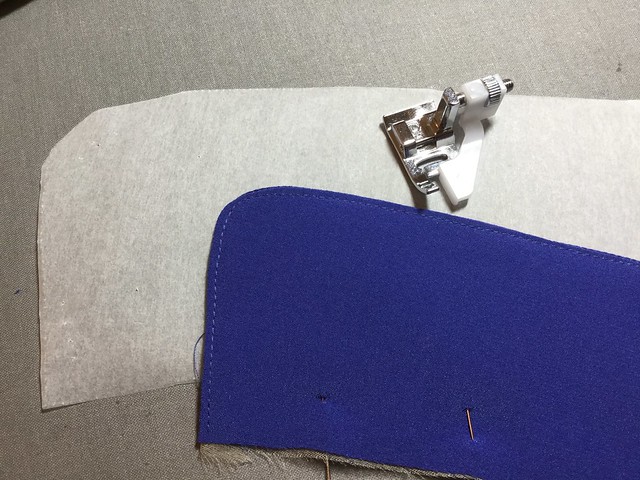
My sewing machine came with a lot of accessory feet - and I rarely use any of them. Zipper foot, yes all the time. Walking foot - Never! I just saw someone on IG this morning praising the walking foot and I understand the appeal - but I don't think I have ever needed it? Anyway the edge stitching foot did work well for this collar.
Sewing on buttons - my least favorite sewing task. And I am super picky about them, so I sew one at a time and then button and make sure they are placed correctly and not pulling the front up or down. Perhaps my little obsession makes me also hate this task. But I tell myself extra time will result in satisfaction and not annoyance at misplaced buttons. On a shirt there is a bit of wiggle room on the button placement - on a coat there is no wiggle room - they must be in the exact right spot or I will not rest. As evidenced when I made this Quart coat from Pauline Alice patterns - and tangled with the button placement until it was just right. Plus plaid and double breasted style - buttons are critical.
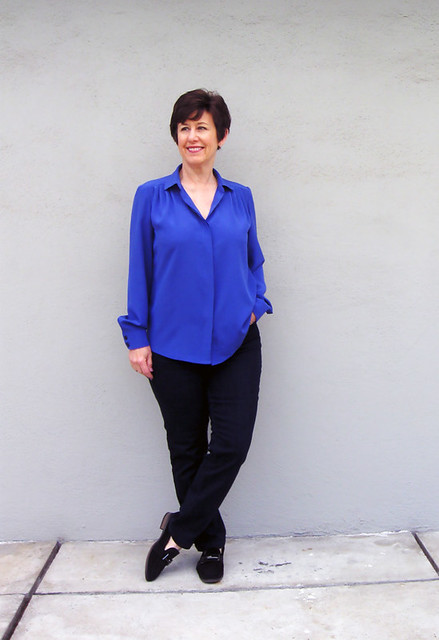
For the length I knew I would be wearing this with a shorter jacket so decided to make it kind of long, and I'm not entirely sure this is successful on me. You'll have to see when I show it with the jacket on.
Which will be my next post! Here's a quick look.
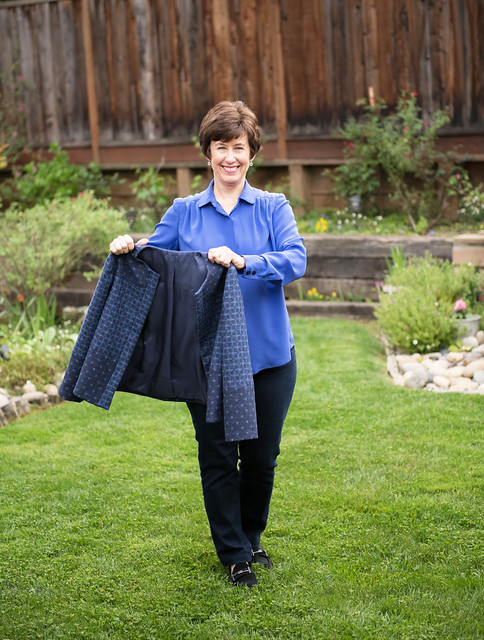
So up next, a post on the jacket, another silk top which is more summery, a few sleeveless dress and some tropical travel in the near future :) Which meant some unnecessary but always fun sewing. And Me-Made-May just around the corner.
Maker Fair Bay Area is coming up in May, and to participate in that we have a class at Hello Stitch Studio on Thursday May 17 which is a bit of a bonus - with a social component. Or should I say Sewcial?
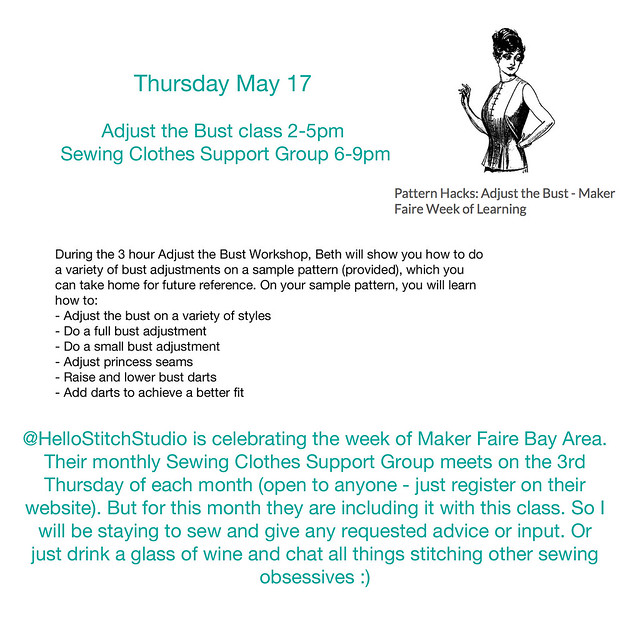
I did this class a few weeks ago and I think it's a great way to get familiar with adjusting your paper patterns - no pressure as we go through adjustments on sample paper pattern pieces. Plus the why and how behind them, how to measure yourself and how to choose a pattern size to start with. The Sewing Clothes Support Group is a great way to use the studio - all those lovely machines and cutting spaces.
After that we have the following classes:
Garment Copying: Sat. May 19 - how to make a pattern from an existing garment. Among other demos I am going to copy a lovely vintage dress I have in my wardrobe)
Bondi Dress: Sat. June 2 - this is a great summer dress, and we have every size at the studio so you can come in, try on to figure out your best size and then start sewing right away. Plus the patterns on oaktag for easy tracing, also the pattern which super cute and versatile is included in the cost of the class. (you will receive the pdf pattern and instructions but don't need to print out as those are at the studio).
Pattern alteration and Tissue Fitting: Sun. June 3. A slight change on our Fit Lab class. This will be common pattern adjustments, similar to the Adjust the Bust class with paper samples to practice on, also how to measure and choose pattern size, and then an optional part 2 of the class where I will help you tissue fit and adjust a specific pattern.
Pencil Skirt: Sat. June 16. Sew a fitted pencil skirt and perfect your sewing on darts, waistbands, zippers and the walking vent.
All the classes are listed on the Hello Stitch website, under Garment Sewing.
Happy Spring Sewing,
Beth
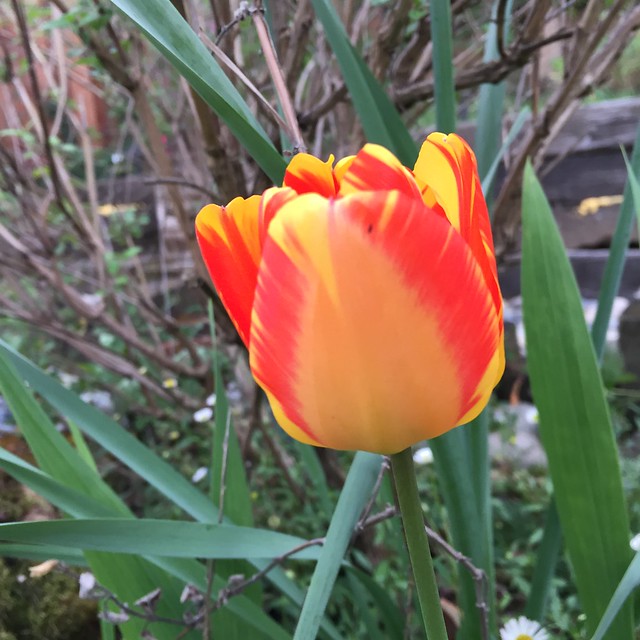
Today's garden photo, the tulips are all gone now but a few were spectacular while they bloomed.


0 Yorumlar